
Retro style badges and monograms seem to be quite popular, so for those of you who would love to learn how to design your own – this tutorial is for you!
We'll spend a lot of the time in the sketch book and in Illustrator, then you can use Photoshop to put a vintage feel to it.

The logo I'll be designing in this tutorial is my own, which can be seen in the header of my website. The monogram logo is a custom illustrated letter initial combined with a rather simple badge shape, and finished off in Photoshop with some finer details to give it a grungy vintage appearance.
Creating a monogram style logo doesn't take that long. Majority of your time will be spent drawing concepts and tracing it within Illustrator with the pen tool.
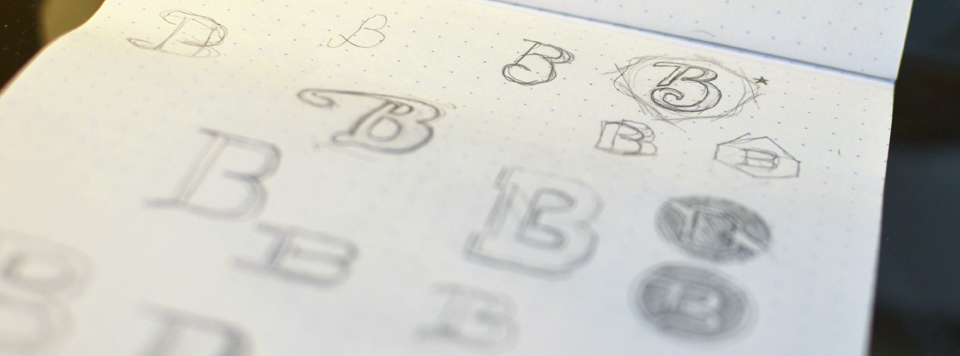
Start by sketching out some concepts until you come up with something you like. Once you've decided on your favorite, start on a new page and redraw it.

Take your isolated redrawn concept and scan it into your computer, then open it up in a new Adobe Illustrator file.
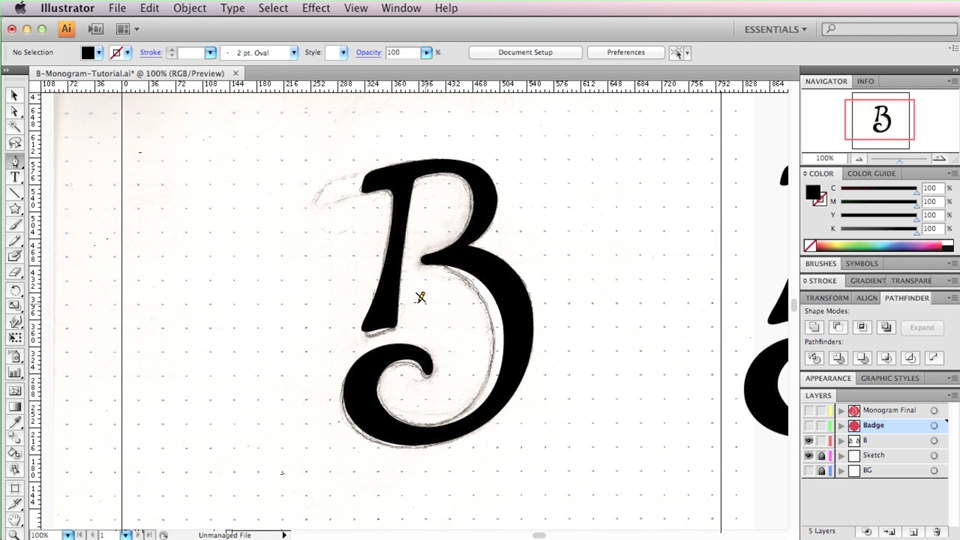
Using the pen tool (P), trace your custom letter illustration. It might take some time to get comfortable with the pen tool. Just be sure your curves are smooth.
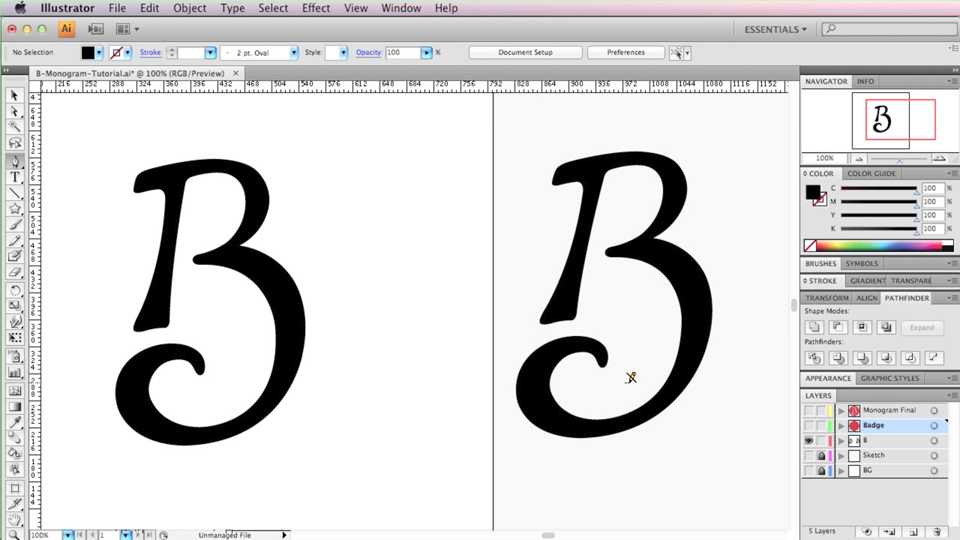
After you've traced your sketch, hide your scan layer and make any necessary tweaks to your letter.

Hide that layer and create a new one.
In your new layer select the star tool, which can be found within the rectangle or ellipse tool. With the star tool, click once in the center of the canvas.
The star setting window should appear. For my specific badge, I'm setting my options to "Radius 1: 3.4 in", "Radius 2: 3 in", and "Points: 8".
This determines how many points your badge will have and how large the points will be. Feel free to play around with these options.
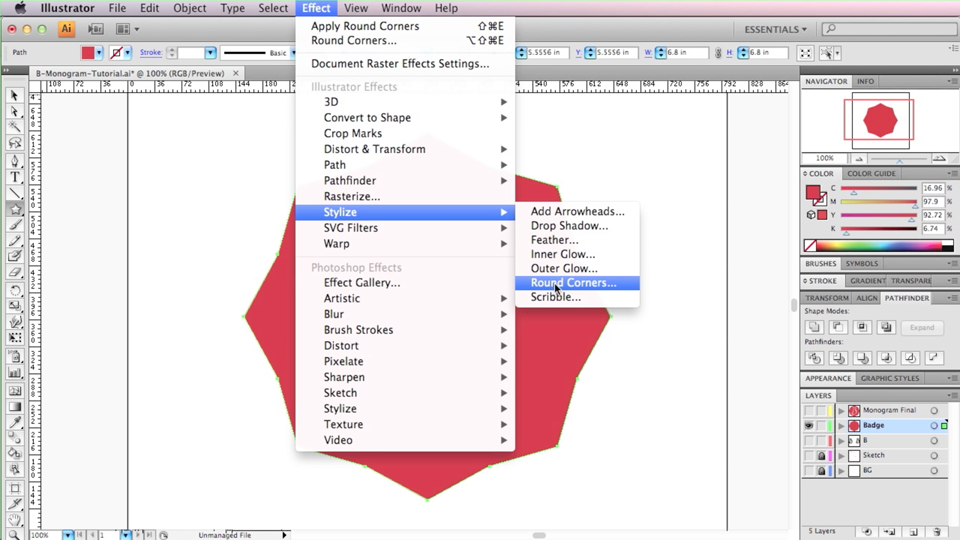
With the star selected, go to Effect > Stylize > Round Corners... When the option window appears, I used the setting "Radius: 0.3 in". Again, feel free to play around with the settings.
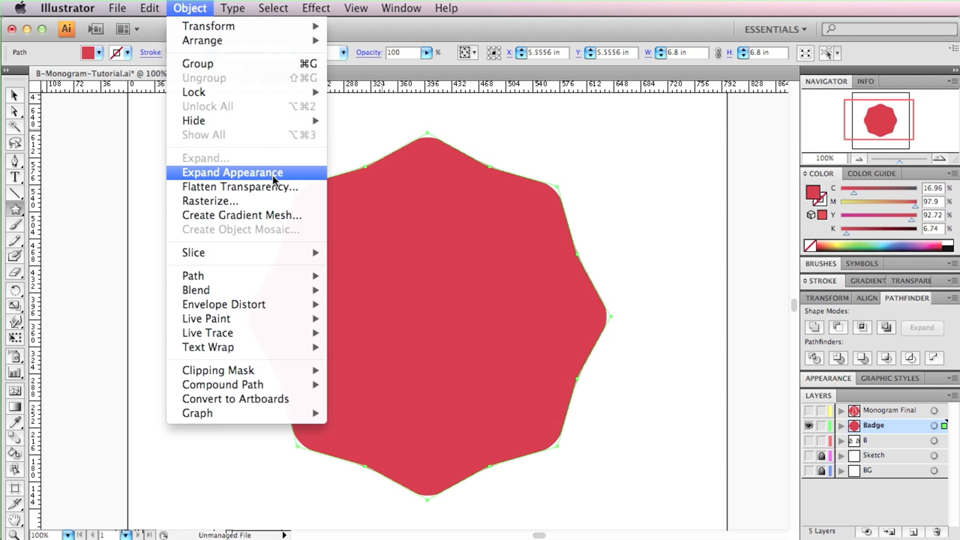
This step is important: To be able to subtract the letter from the badge, we need to "expand" it. This will remove the star with the rounded corners effect and turn it into one solid object.
With the star shape (badge) selected, go to Object > Expand Appearance
Now that we have a solid object, we can go back to our hidden layer and copy our letter illustration.
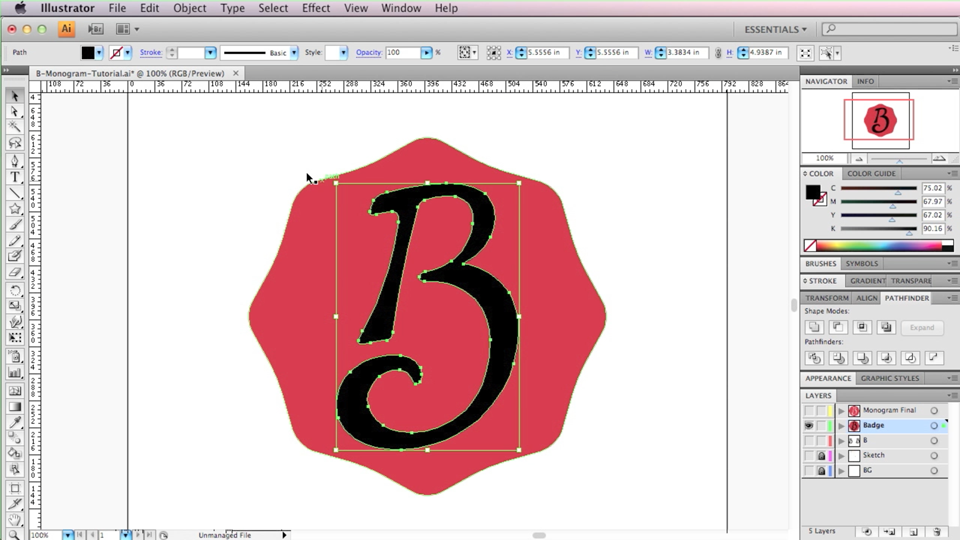
Go back into your badge layer and paste the letter in-front with CMD + F
Center the letter with the badge and select both.
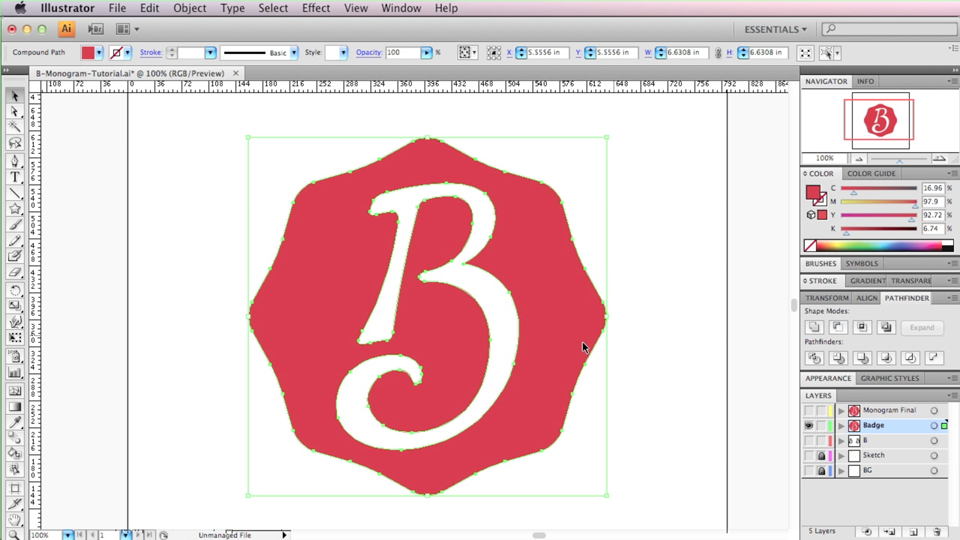
With both objects selected, go into your pathfinder window (which can be found under Window > Pathfinder in the menu bar above) and select "Minus-Front"
This will take your letter (in-front) and "punch-out" or subtract from the badge behind it. Leaving you with one solid object.
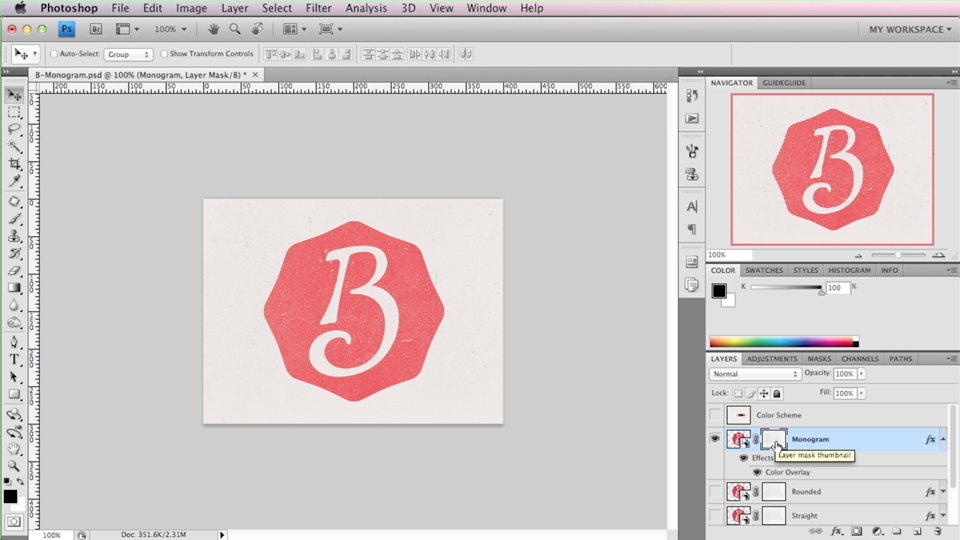
Now feel free to copy and paste the object into Photoshop to give it some extra vintage details!
For this specific example, I'm using a subtle brush in Photoshop to create the background texture.
I then use the exact same brush to mask the monogram logo.
Enjoy the post?
Please help spread the word by sharing it with your friends!


